
Melted Crayon Rainbow Butterfly Suncatcher
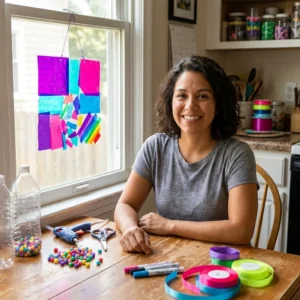
Creating beautiful crafts is a wonderful way to express creativity and brighten up your home. This Melted Crayon Rainbow Butterfly Suncatcher is a delightful project that brings color and joy into your space. By using simple materials you likely already have at home, you can create stunning butterflies that catch the light beautifully when hung in a window. Not only is this craft visually appealing, but it also provides a great opportunity for family bonding and imaginative play.
Let’s dive into how you can make these charming suncatchers together!
Why You’ll Enjoy This Project
- Colorful Results: The melted crayon shavings create vibrant, rainbow-colored butterflies that shimmer in the sunlight.
- Easy to Make: This project uses simple materials and straightforward steps, making it perfect for crafters of all skill levels.
- Fun for All Ages: Kids and adults can both participate, making it a great family activity.
- Nature-inspired: This project can spark conversations about butterflies, nature, and colors, promoting learning and creativity.
- Personalized Decorations: Once you make your butterflies, you can hang them anywhere and switch them out with the seasons or holidays!
Materials You’ll Need
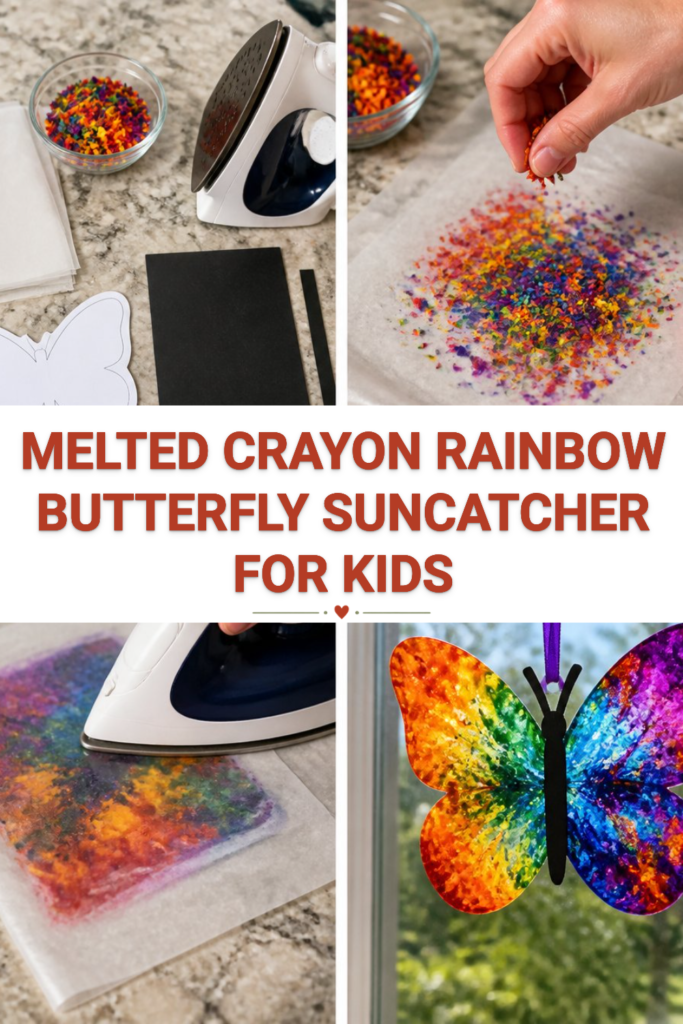
- Wax paper
- Rainbow crayon shavings (use crayons in various colors)
- Butterfly template
- Parchment paper
- Iron (with adult help)
- Black cardstock
- Ribbon
Feel free to use any leftover crayons you have at home and involve your kids in the exciting process of creating the shavings!
How to Make Melted Crayon Rainbow Butterfly Suncatcher
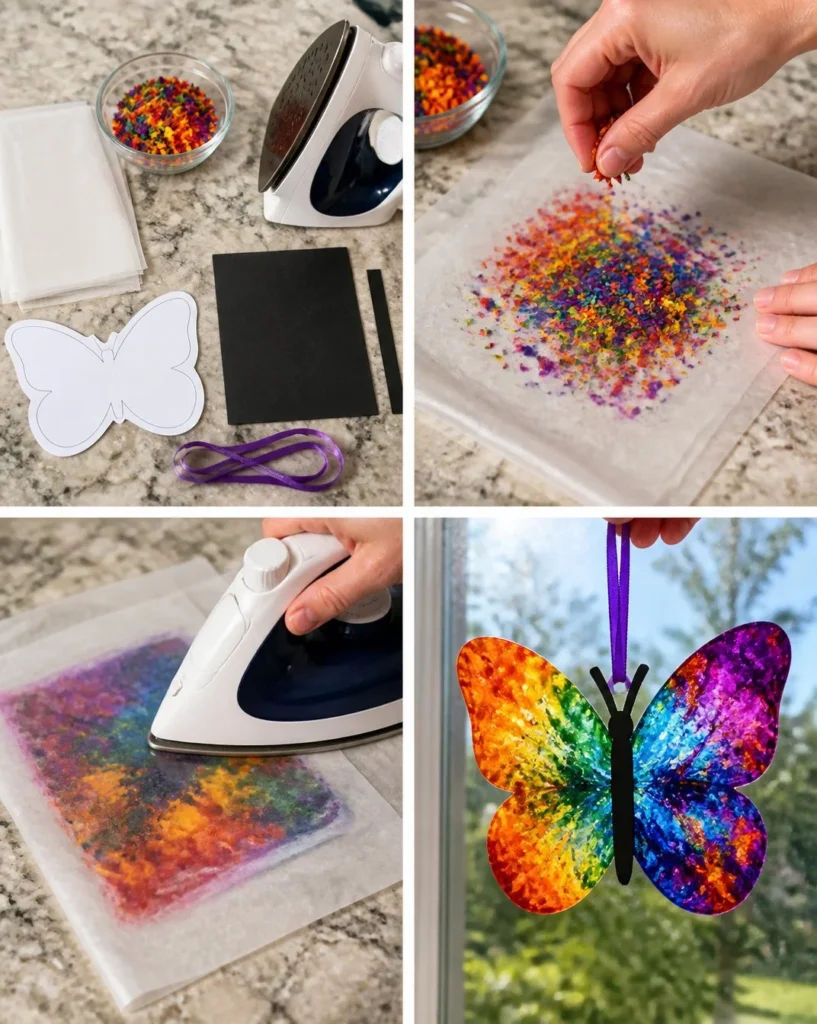
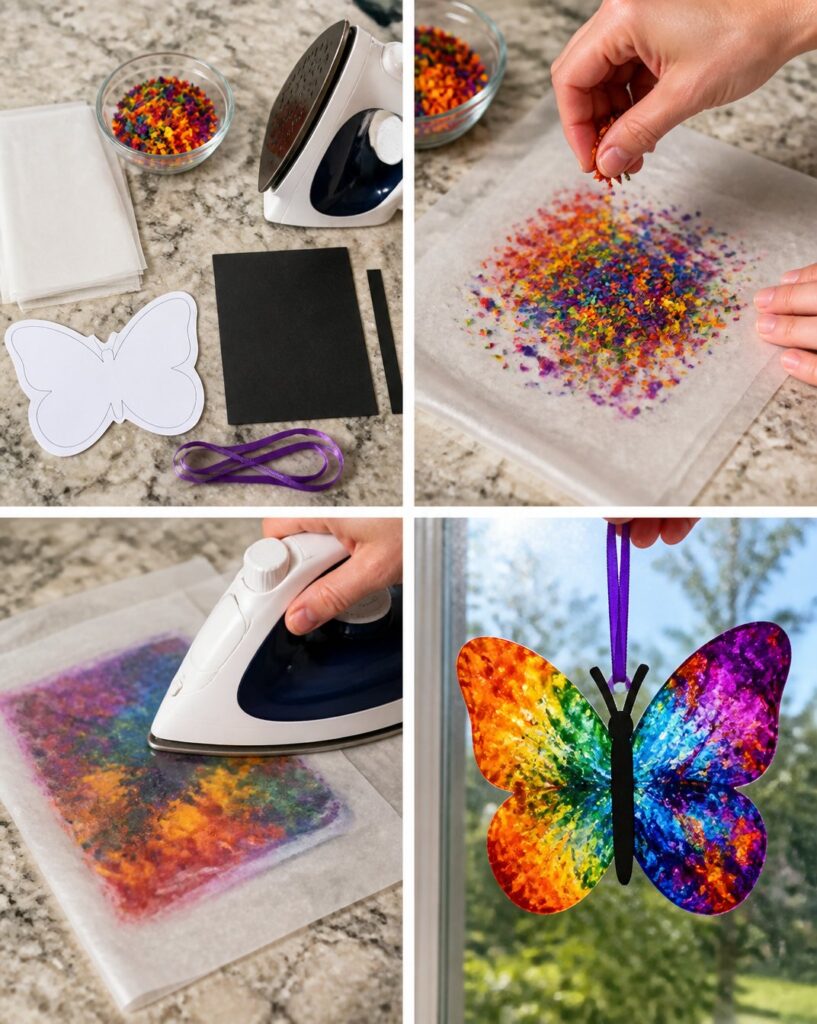
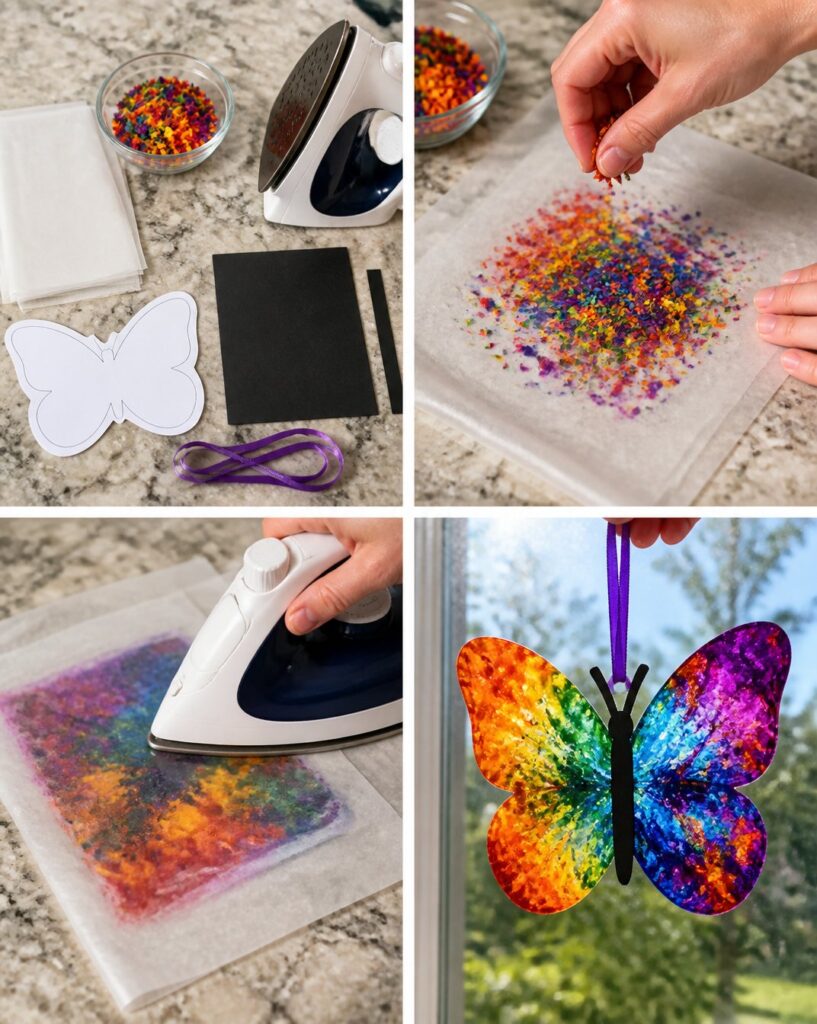
- Prepare your crayons: Start by peeling the wrappers off your crayons. Use a sharpener to create shavings, or carefully grate the crayons with a cheese grater to get colorful shavings.
- Layer the wax paper: Place one sheet of wax paper on a flat surface. Sprinkle the crayon shavings onto this sheet, spreading them out evenly. Add as many colors as you like for a vibrant look.
- Cover and iron: Place a second sheet of wax paper on top of the shavings, creating a sandwich. Place a piece of parchment paper over the wax paper. With adult help, carefully iron on a low setting for just a few seconds to melt the crayon shavings. Check the process and lift the parchment paper regularly to avoid overheating the wax paper.
- Cool and cut: Once melted and slightly cooled, remove the top layer of wax paper and let it cool completely. Once cooled, use the butterfly template to trace and cut out butterfly shapes.
- Add the body and hang: Cut out small butterfly bodies from black cardstock and glue them to the center of each butterfly shape. Finally, tie a piece of ribbon around the top for hanging.
Helpful Tips
- For a cleaner result, ensure you have a clean workspace and preferably use an old iron or ironing board.
- Let the melted butterflies cool completely before cutting to avoid smudging or tearing.
- To display your suncatchers, hang them in a sunny window or outside where they can flutter in the breeze.
Easy Variations
- Seasonal Colors: Create butterflies that reflect the colors of different seasons, such as pastels for spring or warm tones for autumn.
- Different Shapes: Instead of butterflies, use other templates like flowers or stars for a change.
- Layering Effects: Try making multiple layers of melted crayon shapes for a more three-dimensional look.
- Size Variations: Experiment with different sizes of butterflies by enlarging or reducing the template.
Making This Craft With Kids
This project is great for kids aged 5 and up. While children can handle most of the steps, be sure to supervise the ironing process, as it involves hot surfaces. Encourage them to experiment with different colors and patterns of crayon shavings for their butterflies!
How to Display or Use It
These lovely suncatchers can be hung in windows, on doors, or even gifted to family and friends. You can also use them as part of your home décor for special occasions or to brighten up everyday spaces. When displayed in sunlight, they will create a beautiful colored light show that enhances any room.
Frequently Asked Questions
1. Can I use different types of paper for this project?
Using wax paper is essential for this project as it can withstand the heat of the iron without tearing or sticking, unlike regular paper.
2. What should I do if the crayon shavings don’t melt evenly?
Try adjusting the heat on your iron and move it smoothly over the parchment paper. If you notice any uneven areas, you can apply a bit more heat selectively.
3. How do I clean up after making these suncatchers?
Carefully clean any crayon residue from your workspace with a damp paper towel while the wax is still warm, as it will be easier to remove.
4. Can I hang these butterflies outside?
While they can be displayed outside, be cautious, as the sun may fade the colors over time. They are best suited for covered areas away from direct elements.
5. What if I don’t have a butterfly template?
You can easily draw your own butterfly shape or find a template online for printing. Get creative – it doesn’t have to be perfect!
Enjoy your crafting time creating these vibrant Melted Crayon Rainbow Butterfly Suncatchers that everyone in the family will love!
Print
Melted Crayon Rainbow Butterfly Suncatcher
- Total Time: 30 minutes
- Makes: 4 suncatchers
Description
Create vibrant and colorful butterfly suncatchers using melted crayon shavings. Perfect for family bonding and brightening your home decor.
Materials
- Wax paper
- Rainbow crayon shavings
- Butterfly template
- Parchment paper
- Iron (with adult help)
- Black cardstock
- Ribbon
Instructions
- Prepare your crayons by peeling wrappers and making shavings.
- Layer the wax paper with crayon shavings evenly sprinkled.
- Cover with another wax paper sheet and parchment paper, then iron.
- Cool the melted layers before cutting out butterfly shapes.
- Add black cardstock bodies and ribbon for hanging.
Notes
Ensure your workspace is clean and supervise children during the ironing process to avoid burns.