

Rainbow Tissue-Paper Flower Lantern
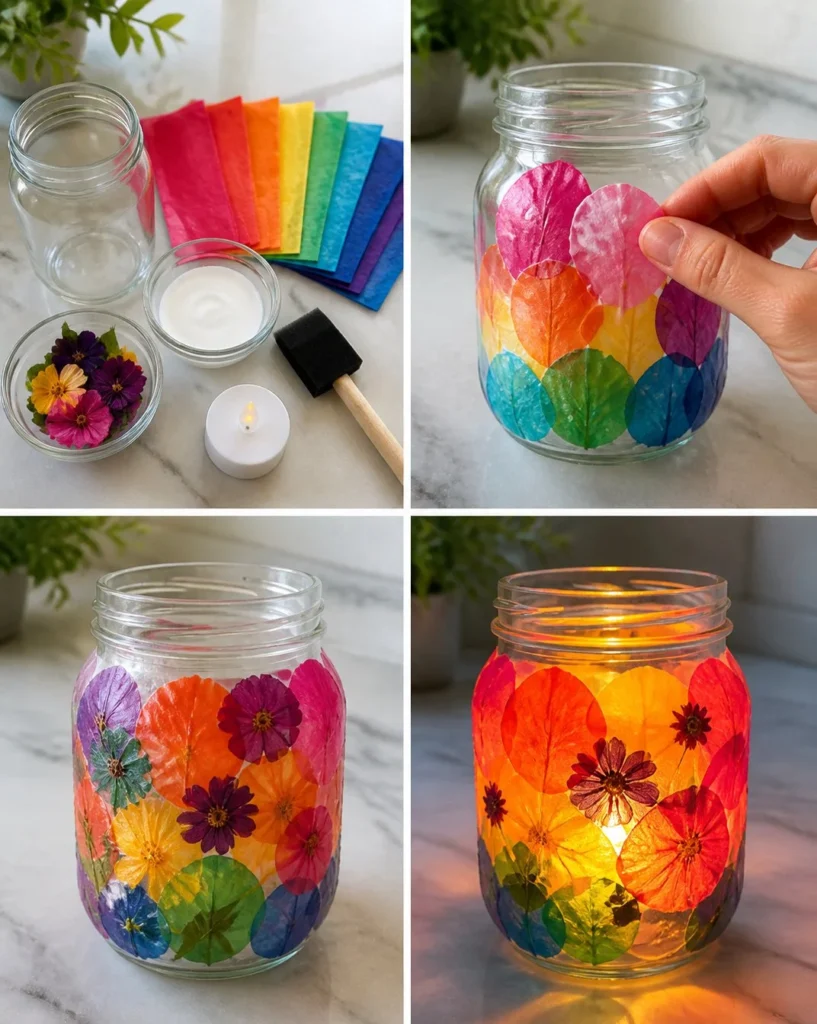
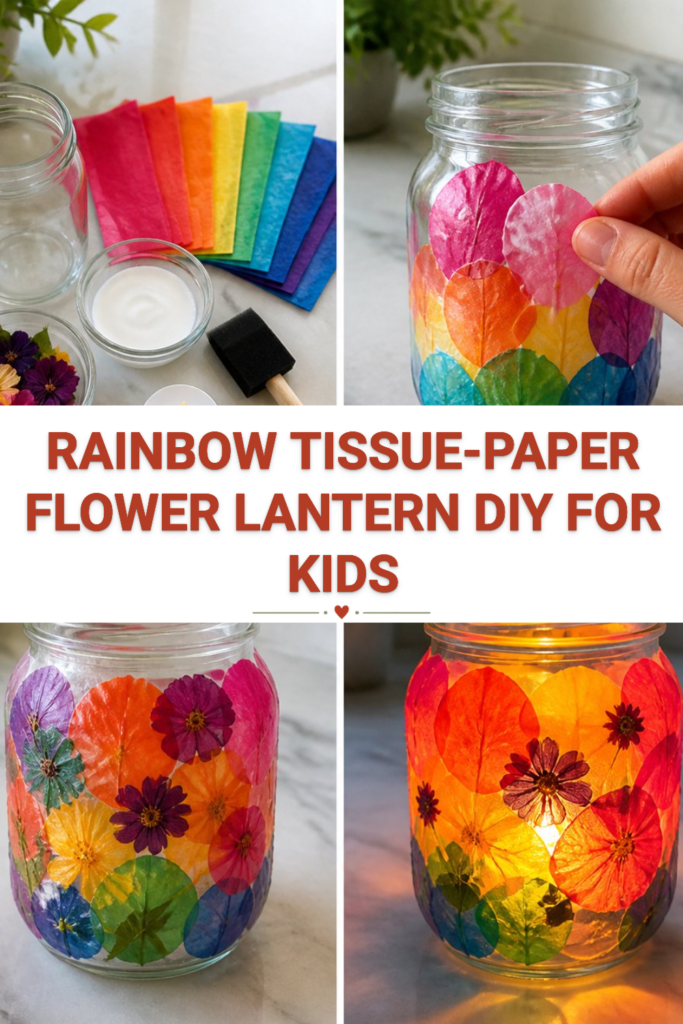
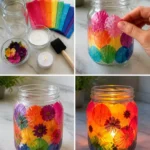
Creating a Rainbow Tissue-Paper Flower Lantern is a delightful crafting experience that transforms a simple jar into a vibrant, decorative piece filled with light and color. This project is perfect for brightening up any room or adding a touch of charm to your outdoor gatherings. Not only is it easy to make, but it also encourages creativity by allowing you to play with colors and shapes.
Gather your family around the craft table for some quality time while making these lanterns. Whether you decide to use them as night lights for kids or as whimsical decorations, you’ll love the beautiful result of your efforts.
Why You’ll Enjoy This Project
- Easy and Fun: This project doesn’t require advanced skills, making it perfect for all ages. Even younger kids can join in with some help!
- Customizable Colors: You can mix and match different colors of tissue paper to match any season or decor.
- Natural Elements: Adding pressed petals gives your lantern a unique, earthy touch that connects you to nature.
- Reusable Materials: Use recycled jars and inexpensive supplies that you likely already have at home.
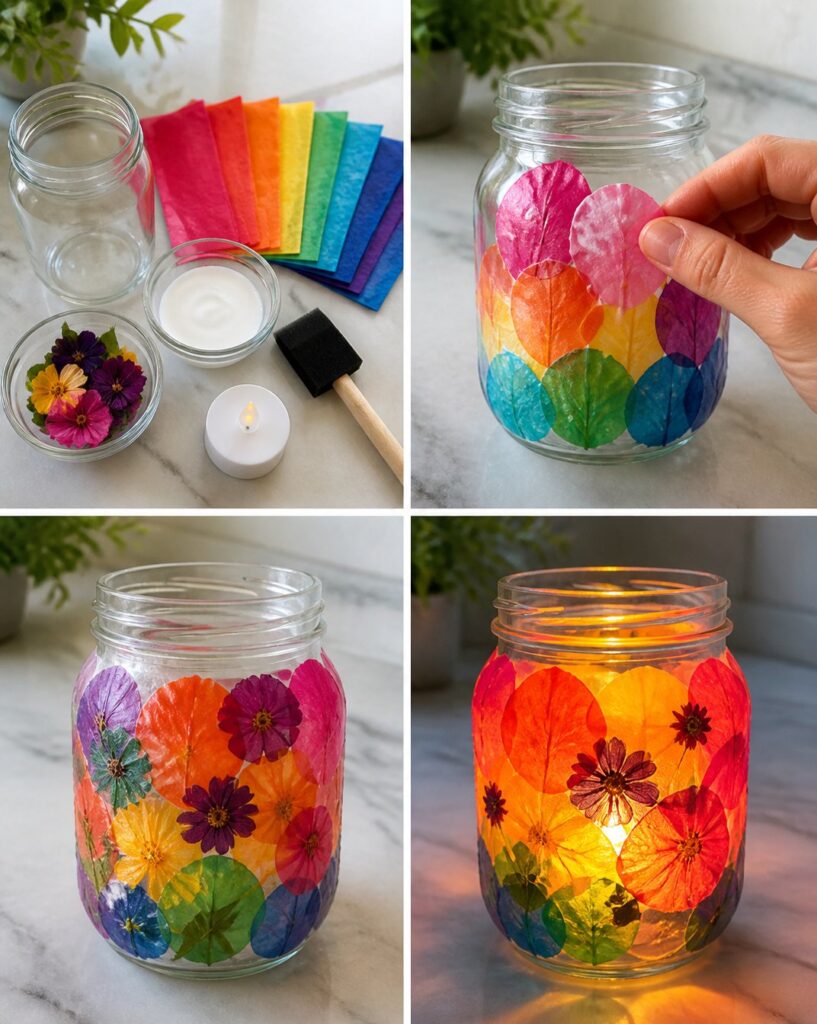
- Cozy Ambiance: The LED tea light creates a warm glow that enhances any space, making it perfect for special occasions or just a quiet evening at home.
Materials You’ll Need
- 1 clear plastic jar
- Rainbow tissue paper
- 2 tbsp decoupage glue
- Pressed petals (these can be dried flowers or leaves)
- Foam brush
- LED tea light
Note: Feel free to use any color of tissue paper you like. You can also use different types of jars as long as they are clear.
How to Make Rainbow Tissue-Paper Flower Lantern
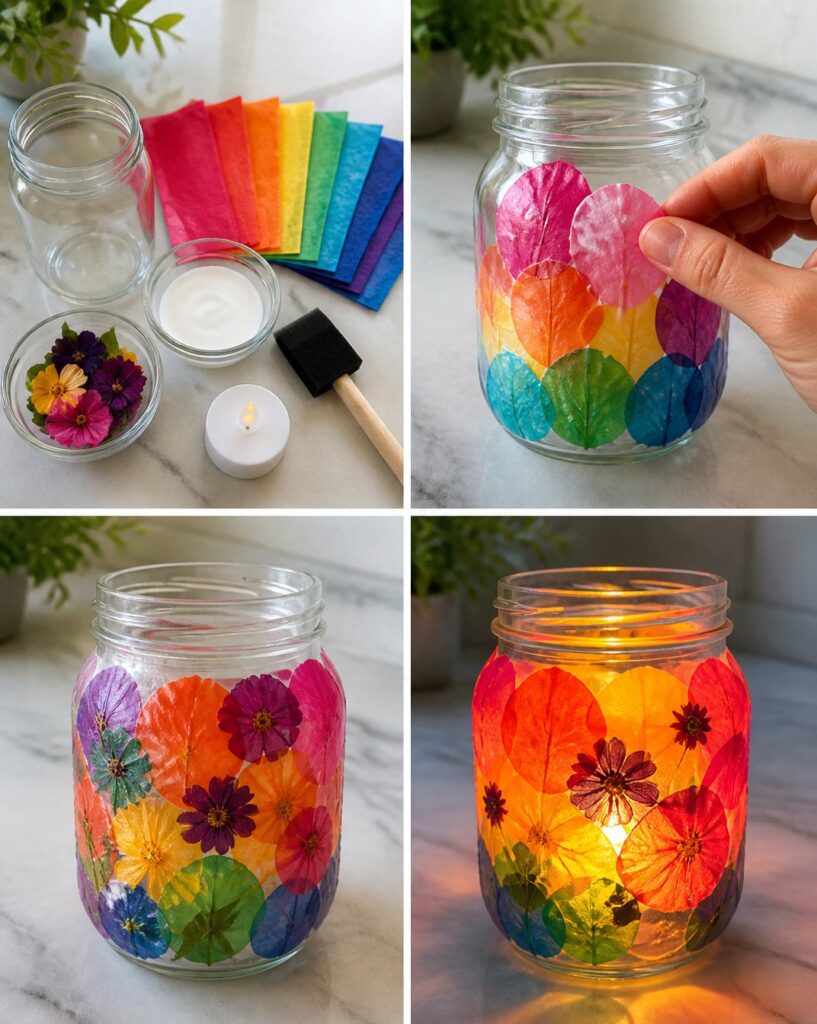
- Tear the Tissue Paper: Begin by tearing the rainbow tissue paper into petal shapes. Think about flower petals: they can be simple rounded shapes or more playful and jagged. Don’t worry about making them perfect—embrace the uniqueness!
- Apply the Petals: Start overlapping the petal-shaped tissue paper around the jar, applying decoupage glue to the jar first. Gently press the tissue paper against the jar so it sticks well. You can layer the colors as you go for a beautiful effect.
- Add Pressed Petals: Once you’ve covered the jar with the tissue paper, add some pressed petals to your design. Press them lightly onto the tissue paper or glue them directly onto the jar, giving the lantern a more detailed look.
- Seal with Glue: Use your foam brush to add another thin layer of glue over the finished flowers and petals to seal everything in. This also helps the colors stay vibrant and adds a nice sheen.
- Let it Dry: Allow your lantern to dry completely. This step is important to make sure everything stays in place.
- Add the Tea Light: Once dry, place your LED tea light inside the jar. Switch it on and enjoy the lovely glow!
Helpful Tips
- For easier assembly, prepare all your tissue paper petals beforehand. This way, you can find and layer them quickly.
- To avoid messy glue, work over a drop cloth or newspaper. It’s easier to clean up any drips that way!
- When using the LED tea light, always check that it fits comfortably inside the jar without touching the sides.
- Ensure that the glue is fully dry before displaying your lantern. This prevents any sticky issues later.
- Kids may need help with the glue application. Assign them to tearing tissue paper and arranging petals.
Easy Variations
- Color Themes: Create lanterns for different seasons by using autumn colors like orange, red, and gold for fall, or pinks and whites for spring.
- Different Sizes: Use larger or smaller jars to create various size lanterns. They can stack for a grouping that creates even more visual interest.
- Use Other Materials: Instead of pressed petals, try using glitter or sequins for a fun, sparkly twist.
- Thematic Lanterns: Craft lanterns based on holidays (like red and green for Christmas) for added festive flair.
Making This Craft With Kids
This project is a wonderful activity for kids, as they can express their creativity through colors and designs. Adults may need to supervise glue application and the placement of the LED tea light to ensure safety. Encourage kids to explore their artistic sides with different petal shapes and arrangements!
How to Display or Use It
Showcase your Rainbow Tissue-Paper Flower Lantern on a dining table, mantel, or bedside table. They make lovely centerpieces for parties or can brighten up any corner of your home. You could even gift them to friends or family as unique handmade decorations, perfect for any occasion.
Frequently Asked Questions
1. Can I use a regular candle instead of an LED tea light?
For safety reasons, it’s best to stick with an LED tea light, especially since tissue paper is flammable.
2. How long does the glue take to dry?
Generally, it takes about an hour to dry, but it’s best to leave it longer to ensure everything is securely in place.
3. Can I use other types of paper?
Yes, you can use other lightweight papers, but tissue paper is preferred for its translucent quality.
4. What if my petals don’t stick?
Make sure you’re using enough glue and pressing them firmly onto the jar. You can also try using a bit of tape for stubborn pieces.
5. How can I clean up after crafting?
Use warm soapy water for the glue and remove scraps of paper from the workspace. Wipe down your table with a damp cloth to remove any sticky spots.
Rainbow Tissue-Paper Flower Lantern
- Total Time: 75 minutes
- Makes: 1 lantern
Description
Create a vibrant Rainbow Tissue-Paper Flower Lantern that adds charm and warmth to any space.
Materials
- 1 clear plastic jar
- Rainbow tissue paper
- 2 tbsp decoupage glue
- Pressed petals (dried flowers or leaves)
- Foam brush
- LED tea light
Instructions
- Tear the rainbow tissue paper into petal shapes.
- Apply decoupage glue to the jar and start overlapping the petal-shaped tissue paper.
- Add pressed petals to the design by pressing them lightly onto the tissue paper.
- Seal the design with another thin layer of glue using your foam brush.
- Let the lantern dry completely before moving on.
- Add the LED tea light inside the jar and switch it on.
Notes
Prepare all tissue paper petals beforehand for easier assembly. Use a drop cloth to manage glue messes.